You’re a do-it-yourself kind of homeowner. So when you receive high utility bills from the city of Charleston, South Carolina, you’re ready to take your home’s energy efficiency into your own hands. Sealing your thermal envelope may be the solution to your problem. Read on to learn how to seal your home’s thermal envelope to improve energy efficiency and save money.
What’s a Thermal Envelope?
Your thermal envelope is everything in your living space that separates indoor and outdoor air. This can include anything meant to contain air, such as walls, doors, windows, floors, insulation and even the separation between rooms.
Over time, leaks can form in your thermal envelope, allowing outdoor air to enter your living space and indoor air to escape. That temperature transfer can reduce energy efficiency by placing unwanted strain on your HVAC system as it attempts to maintain comfort despite the breach. That strain can lead to higher energy costs and further inefficiency.
How to Seal Your Thermal Envelope
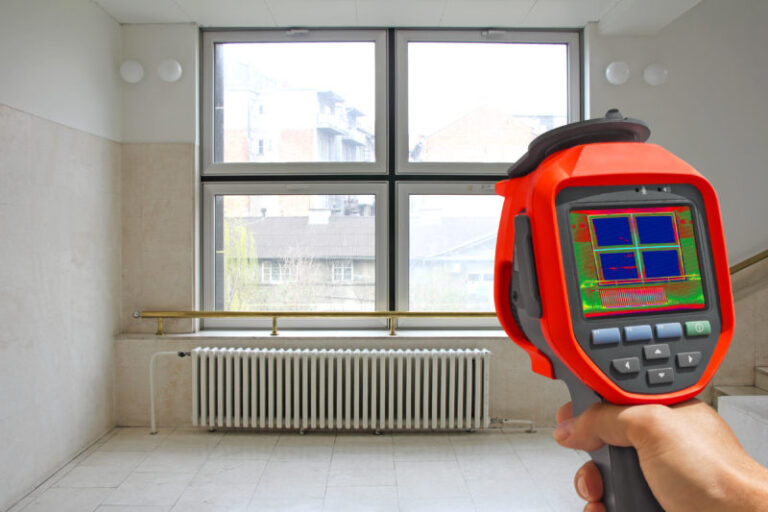
You don’t have to let breaches in your thermal envelope keep you from establishing energy efficiency. Before you can seal your thermal envelope, though, you need to find places where the air is leaking out. Identify leaks around windows and doors by looking for light leaking in or excess dust and dirt. You can also look for similar signs of leaks in unfinished areas of your home, such as an attic.
Once you’ve identified those leaks, you can get to work containing the air in your home. Seal leaks around your doors by placing weatherstripping along the doorframe. Close gaps around your window by laying a fresh layer of caulk. You can also seal spaces like your attic with extra insulation and expanding foam in areas where the air is leaking inside.
Take your energy efficiency into your own hands by sealing your thermal envelope. For a professional hand improving your HVAC energy efficiency, call Berkeley Heating & Air Conditioning at (843) 277-6030.
Image provided by Shutterstock


